For any of us who play dungeon crawl board games or pen and paper RPGs like Pathfinder, having a cool and interesting dungeon board/layout is a huge part of drawing us into the experience and helping see what our characters are seeing. Unfortunately, these boards can cost quite a bit of money, which is something few of us can spare after investing so much in books, miniatures and other accouterments necessary for play. Thankfully, our good friend Vagabond Prime has come up with an elegant and cost effective solution to this problem. He originally posted this story here, but wanted to share this awesome idea with the rest of us.
Without further ado, here’s Vagabond!
I have been equated to Dr. Frankenstein when it comes to my approach to Table-Top games; A little of this, a little of that, and an ab-normal brain might just make something cool. Or really, explosively dangerous. I like to throw a bunch of stuff together and see what happens. It’s even better if I can do it with next to no expense!
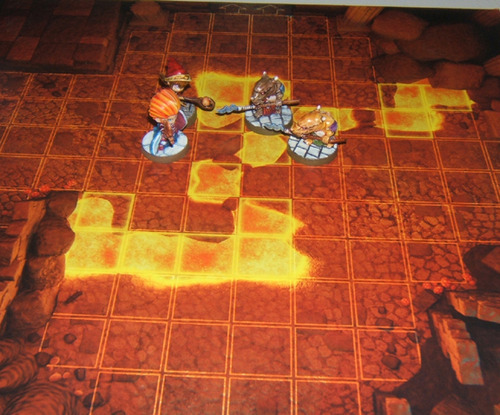
The little scene above is from Soda Pop Miniature’s most excellent Super Dungeon Explore. I’ve only played the game a few times, but I am absolutely smitten with the miniatures. They capture that perfect balance between Chibi asthetics and high-fantasy cool. They’re fun to paint, too. My only gripe with the game comes with the dungeon tiles. Sure, they look great, and they package well in the box set, but they’re so damned flat!
In the Spirit of Gaming in Three Dimensions, let’s grab some stuff and make a dungeon! It can be for any dungeon-style game with miniatures. Let’s score extra points with that Hippie kid down the street and make it with recycled materials!
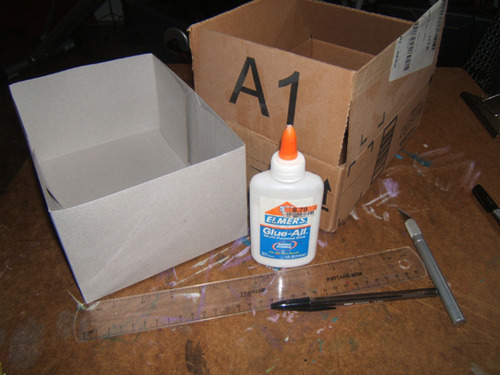
I grabbed an Amazon box, the bottom of a model box, some glue, a ruler, ballpoint pen, and an X-Acto knife.
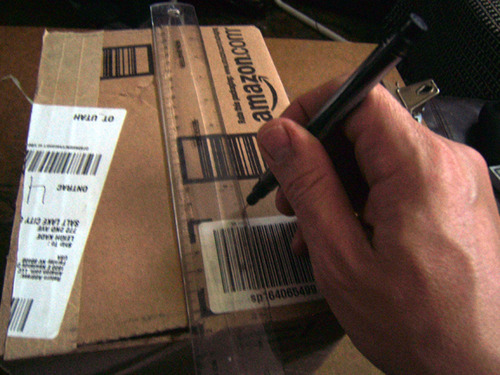
First, measure two inches from the bottom of the box, all the way around the sides. Draw a line, and cut around the box on that line with your X-Acto. And be careful, you’ll need your fingers later!
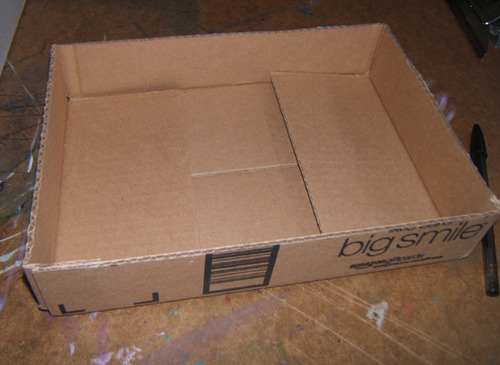
Now you have a much shorter box. You see those flaps on the bottom? Glue them down. They hate you, and need to be repressed. You should also cut a piece of scrap card to glue in that little recess in the middle, too.
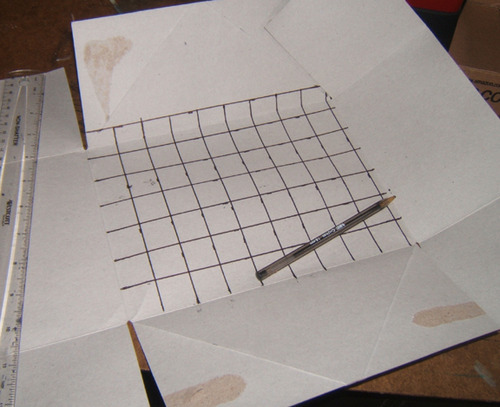
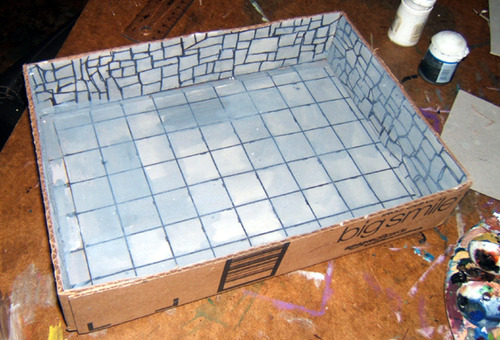
Now, grab your ruler and measure out a one-inch grid. Use a ball-point pen and really push down and score that grid into the thin cardboard. Make sure this section is big enough for the bottom of your shipping box. Cut it out, and glue it in, like this!
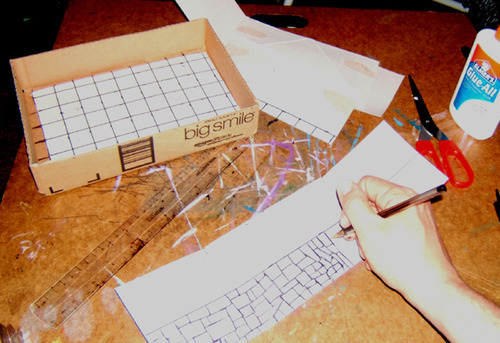
Now, you’ll want to measure some light card strips that are about two inches high. You can see that I am just doodling blocks onto these strips, using the ball-point pen to leave good indentations of the pattern on the card. Cut those strips out, and glue them onto the inside walls.
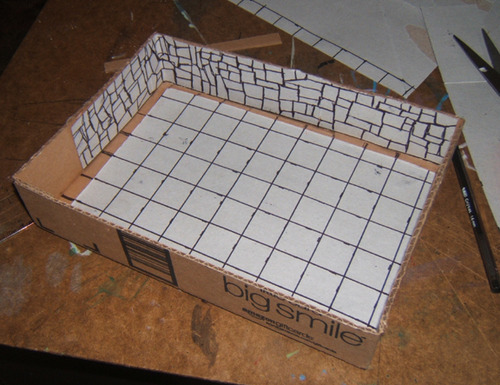
Once you’ve covered the walls all the way around the inside of the box, you can call it quits, if you want. Your little box dungeon room cost you next to nothing to make, and looks pretty cool with miniatures in it.
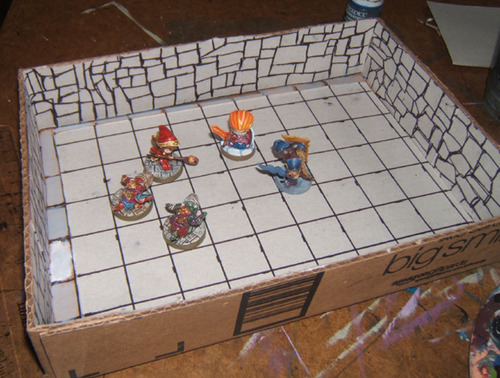
I painted any brown box that was showing with grey paint for uniformity, but you can see how this simple box picked the game right off the table and smacked it right into a three-dimensional setting. I went quick and loose with mine, but you can get as detailed as you want! But wait! You know full well I’m not leaving it here, right? How about adding some color?
I started off by laying in a grey acrylic wash. I use clear acrylic medium instead of water to spread the paint around. The acrylic medium seeps into the paper fibers and strengthens it a bit. This is still a pretty drab looking room, so let’s add a little more color!
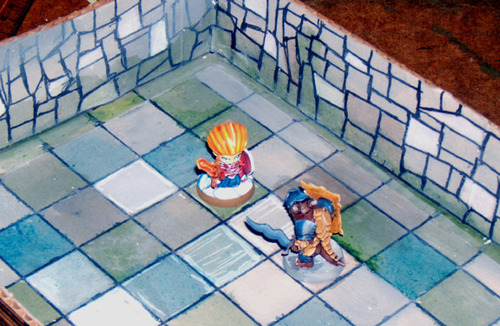
That’s a lot better! I’m not done yet, but you’re late for work, so you best go! I’m going to add some layers of Payne’s Grey to this room, and we should both build some extra rooms and hallways for the next segment, “Putting it all Together”! See you soon, Buckaroo!